How to make Geometric Embed Soap
How to make Geometric Embed Soap

Embeds are a great way to add interest and personality to your soaps. There are endless ways in which you can create embeds, from tiny shavings to chunky blocks. You can make them by hand or use a mold with cold process soap and melt and pour. Give your soap design a pop of color and distinction with the placement, amount and types of embeds you use. Create a fun and interesting theme ranging all the way from cute and sweet to works of fine art. In this tutorial, I will be showing you how to create a fun, funky and abstract design incorporating cold process embeds into cold process soap.
This tutorial assumes that you know about soaping safety, safe handling of lye and safe use of fragrance oils. You should have a few soaps or more made as prior experience for this tutorial. This soap and design is fairly easy to create. You really just need big bold shapes and one color for your soap batter. This tutorial is designed with your own improvisation and imagination in mind. You do not have to cut your shapes exactly as I did, but feel free to! You just need big, chunky cold process soap pieces cut into geometric shapes. There is no “right way” to make the shapes.

What you will need:
A soap recipe that allows for thin to medium trace. I will provide one below, but feel free to use your own if you have one you like. This is for 2 lbs of soap and the embeds will be about 1.5-2 lbs. It doesn’t have to be exact, but close. If you have extra soap after this tutorial, have a mold handy to save the excess. I made some neat little cubes with my extra soap and embeds.
Basic soap recipe:
21 oz Olive oil
10.5 oz Coconut oil
1 oz Castor oil
4.8 oz Lye
10 oz Distilled Water
2 oz Yuzu fragrance (behaves well, won’t accelerate, won’t morph or discolor, smells delicious!)
Big, chunky, and colorful cold process soap embeds that fill up half of your soap mold. So about 2 lbs of “embed” soap. (You can eyeball this.) The mold I used for this tutorial is the 10” silicone loaf that holds 50 oz from Brambleberry. I pre-made my shapes in a PVC pipe and cut up a few soap bars. If you have soap that is not fully cured (soft enough to cut through) you can use them for this. Otherwise, you will need to make your shapes 1-2 days beforehand so you can cut through them. You do not want to use any soap that is so hard you cannot easily cut through it with a knife.
Colorants of your choice. I used a bright neon green that I custom blended from 3 tsp Tennis Ball Yellow (Mad Micas) to one tsp Aqua Pearl (Brambleberry).
Soap-making safety gear. Safety goggles, gloves, long-sleeved shirt, ample workspace, no kids or pets!
Make sure you have a design in mind before you make your soap batter. I chose bright, neon colors. Show your creativity here. You can cut your shapes geometrically any way you like. I used big and chunky shapes and cut them with a knife. Have fun with this part and arrange them in the mold so you have an idea of where to place them.

Now that you have your shapes, set them aside. Its time to make the soap batter.
See recipe from above or make your own. You will want to achieve medium trace.

I wanted a raised top so I could add choppy small embeds to decorate the top with. You want the soap to cover your entire design. Once everything is covered in soap, I added my small embed “toppings” and of course, GLITTER!


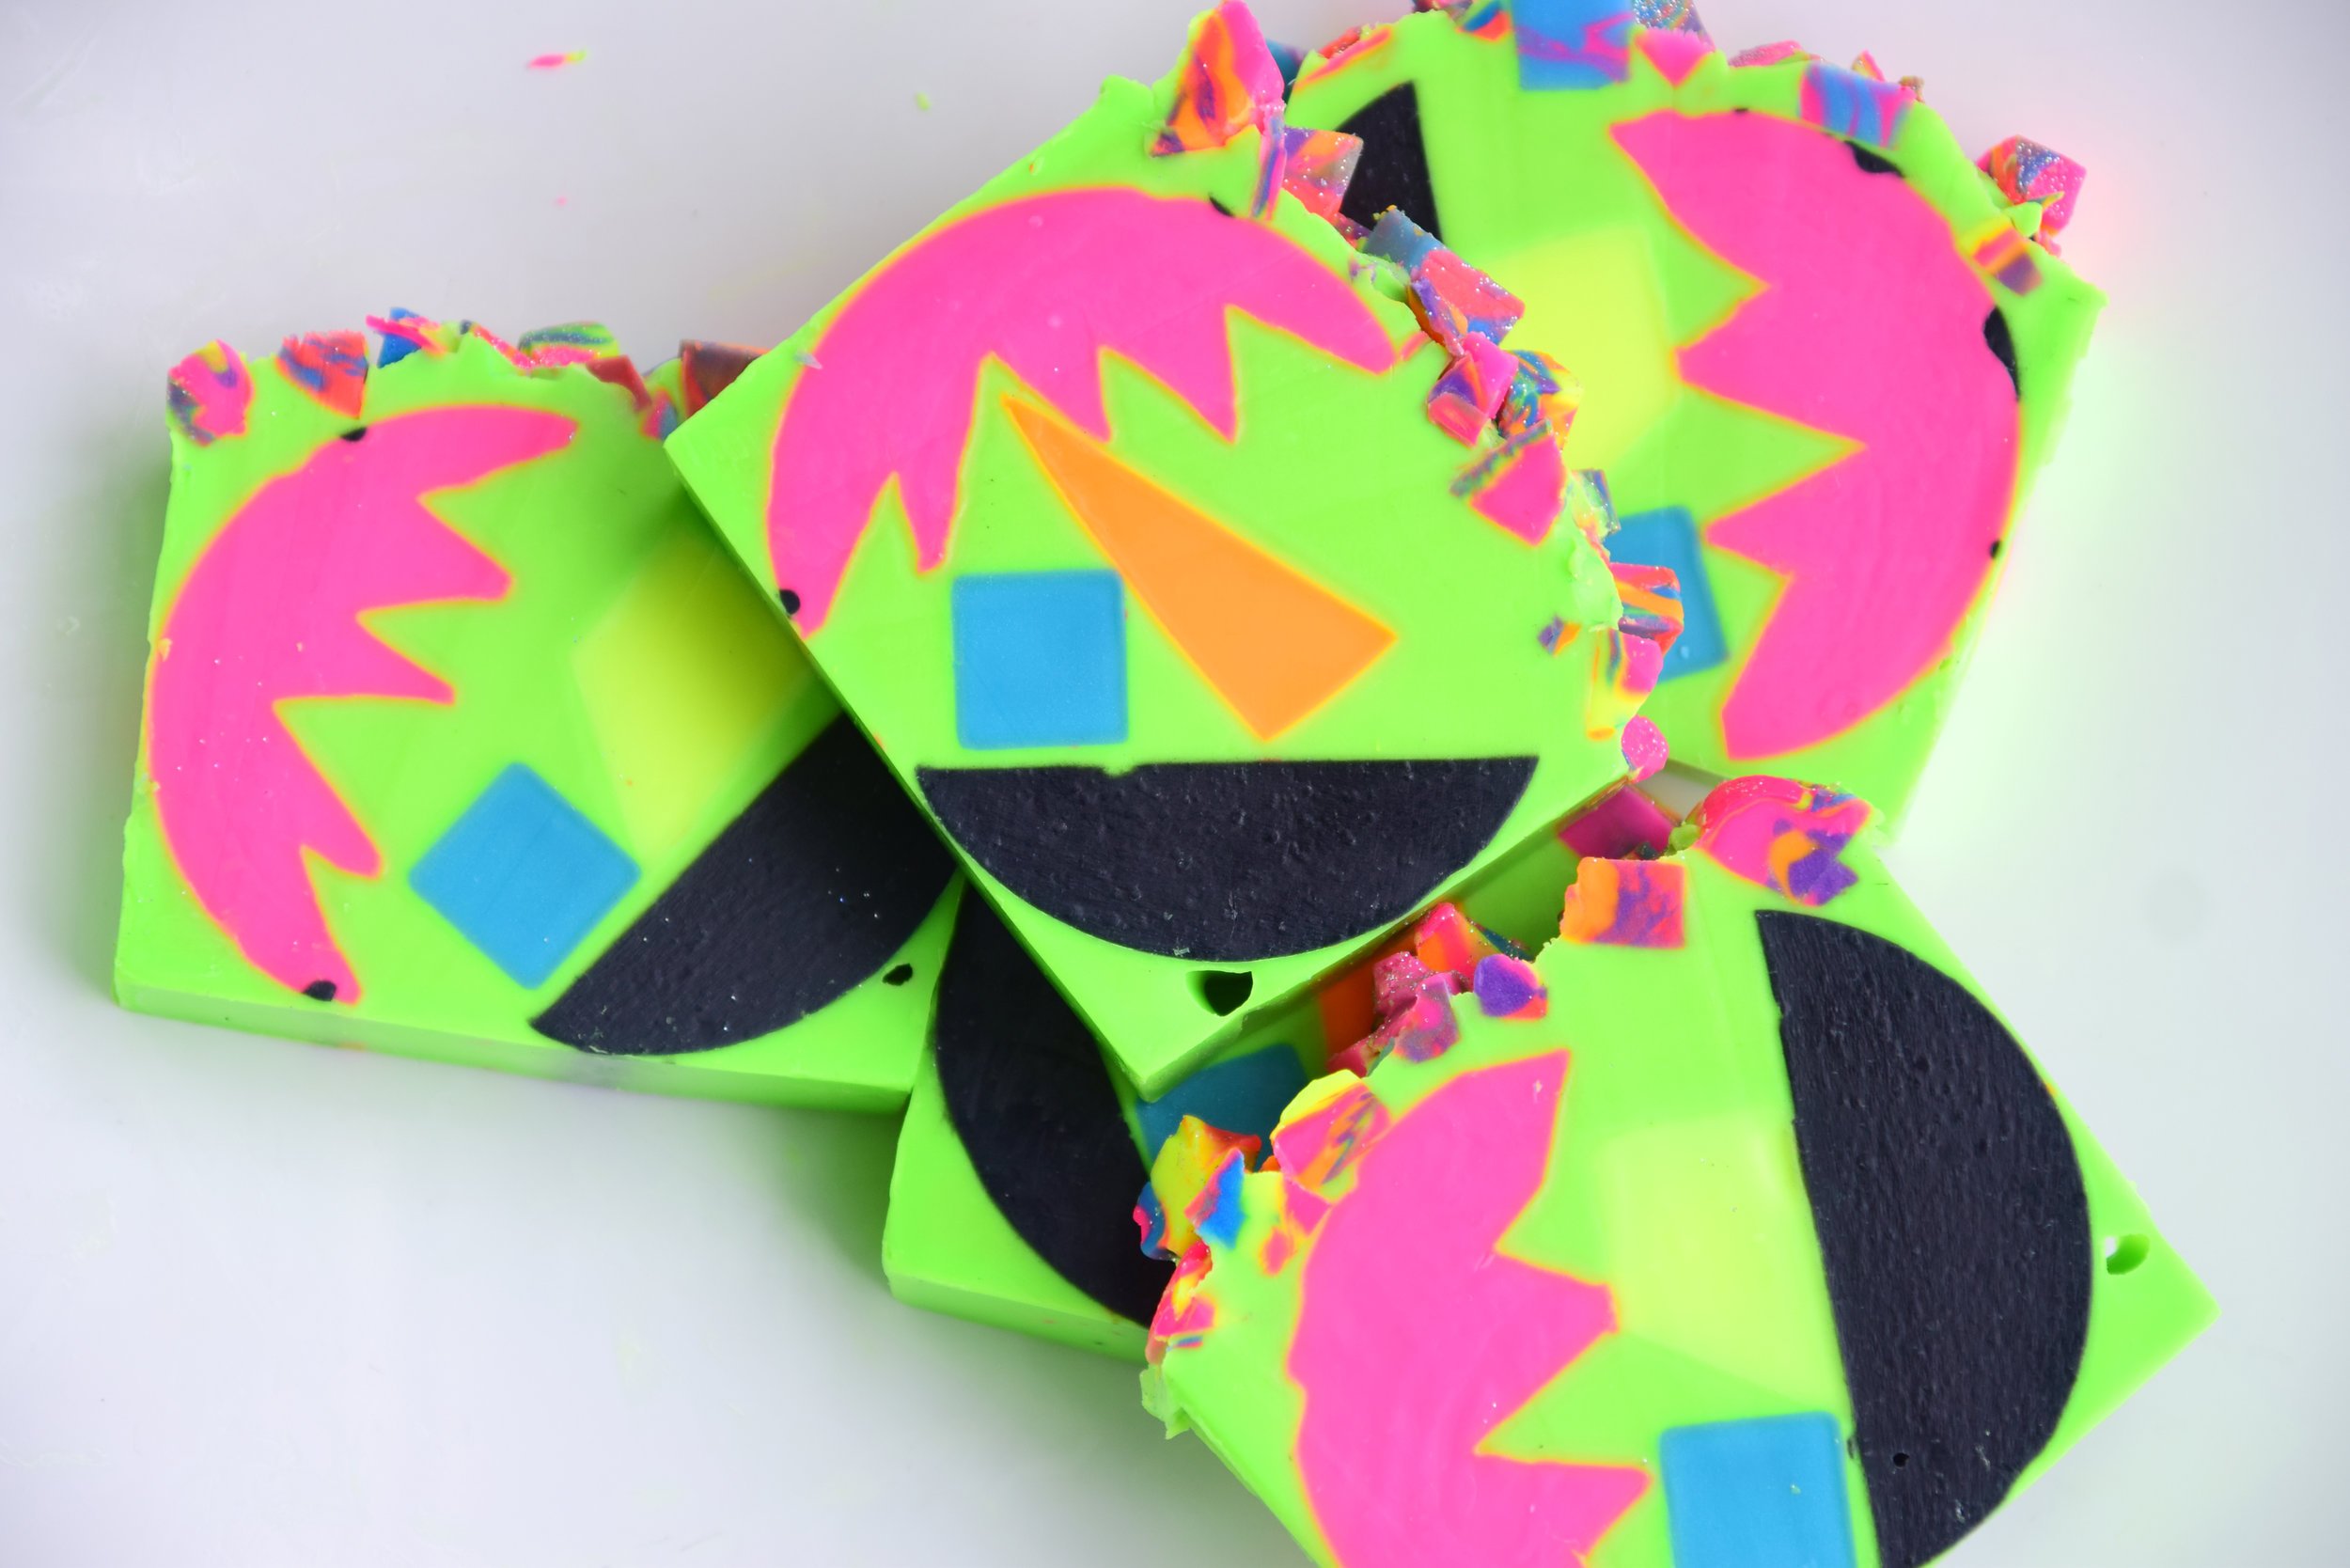
Leave your soap in the mold for 24 hours and cut it. Be amazed at how cool your embeds look in your funky abstract art soap. Cool, right?

Let this cure for 4-6 weeks and enjoy!